Using ClipArt Graphics in Silhouette Studio
Creating your own projects has got to be the best part of using a Silhouette Cameo. Personalizing things with a name or monogram is great, but even better, is creating a project from scratch into exactly what you want.
I’m talking about the size, shape, color, text, materials, you name it. Every detail planned out to your specifications.
**This post contains affiliate links. When you click these links I may make a commission on purchases made through those links. As an Amazon Associate I earn from qualifying purchases.** For more information, please see my Disclosure Policy
If you have been a Silhouette user for a while, you may know how, but if you are new, or don’t have countless hours to dedicate to learning the software and machine, you might not be able to do “all the things”… yet.
Learning something new can be overwhelming, but it is usually worth the work. I have put together this tutorial to show you how you can create files from scratch in Silhouette Studio.

Can You Use Graphics in Silhouette Studio?
Yes! I love building my library of fonts and designs that I can use in Silhouette Studio, which includes graphics. I often see people ask how to use graphics in Silhouette Studio. There are so many amazing graphics out there that you can incorporate in your designs and using them in Silhouette Studio is pretty easy once you know how.
Using ClipArt Graphics in Silhouette Studio
This project based tutorial includes four videos that show you step by step exactly how and what techniques are used so you can follow along. And there is a bonus project to go with it. With Silhouette, the possibilities are endless.
I chose a Valentine theme for this tutorial because I was inspired by the adorable Sweetheart Font Family which includes 100+ clipart files. Once you see the steps to creating your own projects in Silhouette Studio, you will be able to create all sorts of projects. You will only be limited by your imagination.
If you need more font inspiration, here is a link to my post where I compiled 25 cute fonts for Valentine’s Day crafts and kid’s projects. They all include commercial use, and over half of them are FREE!
Supplies
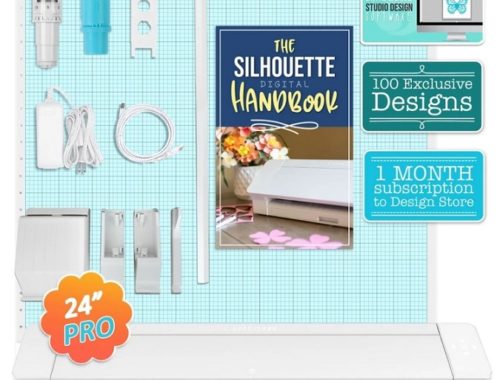
Silhouette Cameo (I used the Cameo 4 for this project)
Silhouette Studio Business Edition
Epson Wide Format Printer
Marble Patterned Lightweight Cardstock
Glossy Sticker Paper
Printer Paper
Tacky Glue
Rhinestone Bling
Pom Pom

Free Valentine Card .studio3 Cut File
You are also welcome to download the finished cut files that I created for this project, which are available free for my newsletter subscribers. Fill out the form below and follow the instructions to download the zip file from my Resource Library.
The zipped file includes :
Valentine Print and Cut Peel Open Card .studio3 file
Valentine Puzzle Card Pring and Cut .studio3 file
Valentine Envelope for Puzzle Print and Cut .studio3 file
Valentine Heart Sticker Print and Cut .studio3 file
Techniques Used in Silhouette Studio
Here are some of the techniques I cover in this tutorial.
The tutorial is long, but I broke it down into four parts so I could be thorough and even a beginner can follow along.
Draw shapes
Import ClipArt graphics into Silhouette Studio
Trace and detach graphics
Text to path
Duplicate and fill page with an image
Print and cut
Make stickers
Create a puzzle
Use flexishapes
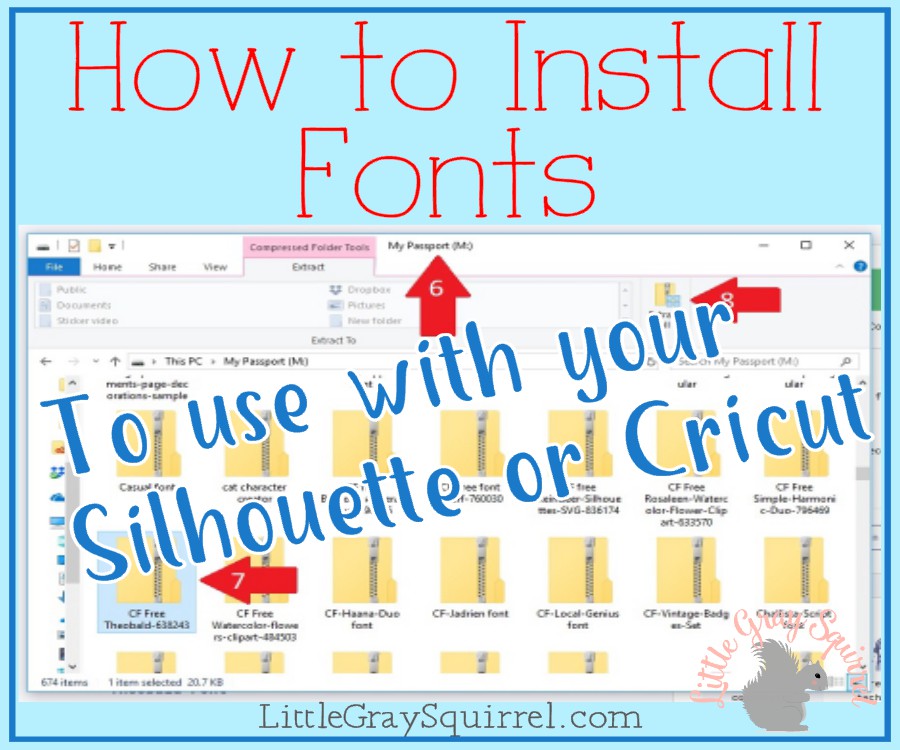
Use fonts in silhouette
Use print bleed
Save your project
And more…
The Silhouette cutting machine will cut any lines you tell it to. The software comes with many tools to draw, or alter shapes to create cut lines. I use and recommend the Business Edition of Silhouette Studio. It unlocks all of the capabilities of the software. It is a one time purchase and is quite reasonably priced for what it allows you to create.
The peel open card in this tutorial and the stickers, can be made with the basic version of Silhouette Studio. To create the puzzle, and the envelope, you will need the Business Edition.
Creating a card in Silhouette is as easy as drawing a box. With just a few more steps, you can have a peel open card.
How to Create a Cut File in Silhouette Studio
Part 1 Create Print and Cut Cards in Silhouette Studio

Here is the first video in the four part series. After the introduction, I will show you how open and use ClipArt and graphics in Silhouette Studio to create the peel open card.
Create a Peel Open Card Cut File
These cards are so fun because they have a hidden message inside. They have a certain mystery to them. When you can put your own sentiment in them, the recipient feels extra special.
Peel open cards aren’t just for Valentine’s Day either. You can use these steps to create birthday cards or invitations, notes for school lunches, or just because.
Part 2: Create a Puzzle and Envelope Cut File

The second video in the series shows you how to create a card and turn it into a print and cut puzzle. Then, create an envelope to put it in.
Puzzles are back! Get a head start on this trend by learning how to make your own print and cut puzzles. I used thin card stock for these valentines, but you can use poster board, chipboard, craft foam, all sorts of materials when you learn how to make your own puzzles.

Part 3: Make Matching Print and Cut Stickers
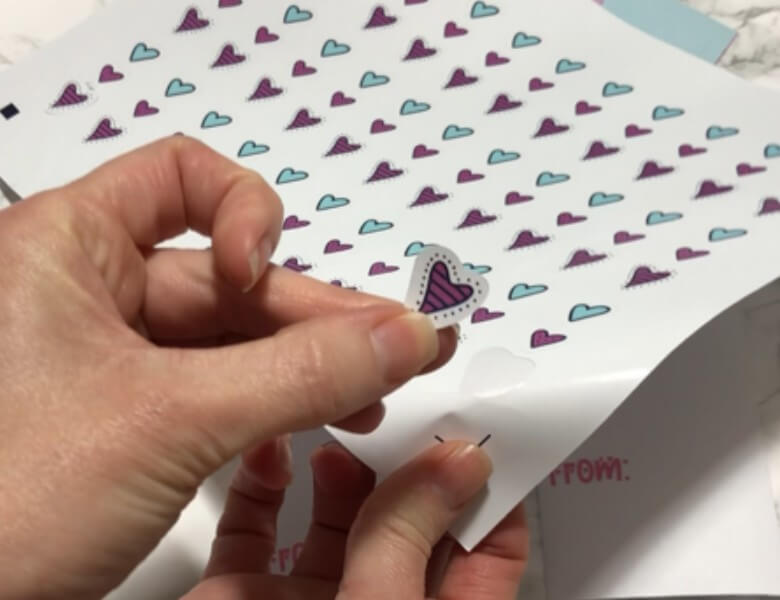
Make Stickers
This is a short video showing you how to use graphics from your design to create stickers that match the theme of your project.
Part 4: Print and Cut the Files

Putting it all together
After creating all the files, it is time to turn them from a digital project into a physical product. I walk you through print and cut using different types of paper including copy paper, thin card stock, and sticker paper.
I also show you how to assemble the peel and cut cards, and the envelopes.
Bonus Valentine Card Sayings
Here are 8 cute valentine card sayings that would go along with the ClipArt graphics that comes with the Sweetheart Font Family:
Happy Valentine’s Day
Always bee yourself
You are beary special
A little bird told me… You are special
Love is in the air
You are a real treat
You’re purrrfect
Hey cupcake! You’re pretty sweet
Bonus Free SVG

I needed a cute way to display the Valentine cards I created, so I came up with this heart shaped box with a lift open lid. The box is available in .studio3 and SVG file.

You can download these, and any of the other files I offer from my resource library by filling out the form below. You will be signed up for my email newsletter but you can unsubscribe at any time.
[mailerlite_form form_id=9]Thank you for stopping by! I hope you picked up a few new techniques you can use to design your own projects.
Please leave a comment below and let me know.
Best,
Megan
