Amaryllis for Christmas
Here is a quick, fun activity you can do that will give you beautiful winter blooms for your Holiday décor, or just brighten up your home this winter.
Forcing Bulbs
This is when you trick bulbs to bloom in their natural “off” or dormant season. This gives you beautiful, showy, indoor blooms in winter. Depending on the type of bulb you choose, you can have blooms in just a few weeks.
**This post contains affiliate links. When you click these links I may make a commission on purchases made through those links. As an Amazon Associate I earn from qualifying purchases.** Please read our disclosure policy for more information.
Grow Bulbs Indoors
Paperwhites are fragrant and grow in pretty clusters of white flowers. They bloom in about 3-5 weeks. They can be planted in containers with small pebbles or soil and make a beautiful centerpiece.
The Hyacinth is one of my all-time favorite flowers. They have a heavenly fragrance and the clusters of flowers come in an array of beautiful colors. They typically bloom in the spring but can be coerced into a winter bloom by storing them in cold storage or the refrigerator for 8-12 weeks before forcing. Hyacinths look pretty in special bulb-forcing vases with just water.
My son and I planted an Amaryllis to have in time for Christmas. Amaryllis bulbs grow into a beautiful large trumpet shaped flower on top of a hearty stem. They are typically red but can be pink, green, white, salmon, orange or duo which is a blend of two colors. The red and white duo ones remind me of peppermint candy. Amaryllis take about 6-8 weeks to bloom (see below for an actual timeline of how my Amaryllis bloomed). We will plant Paperwhites in a few weeks to have them bloom at the same time.
How to Grow Amaryllis Indoors
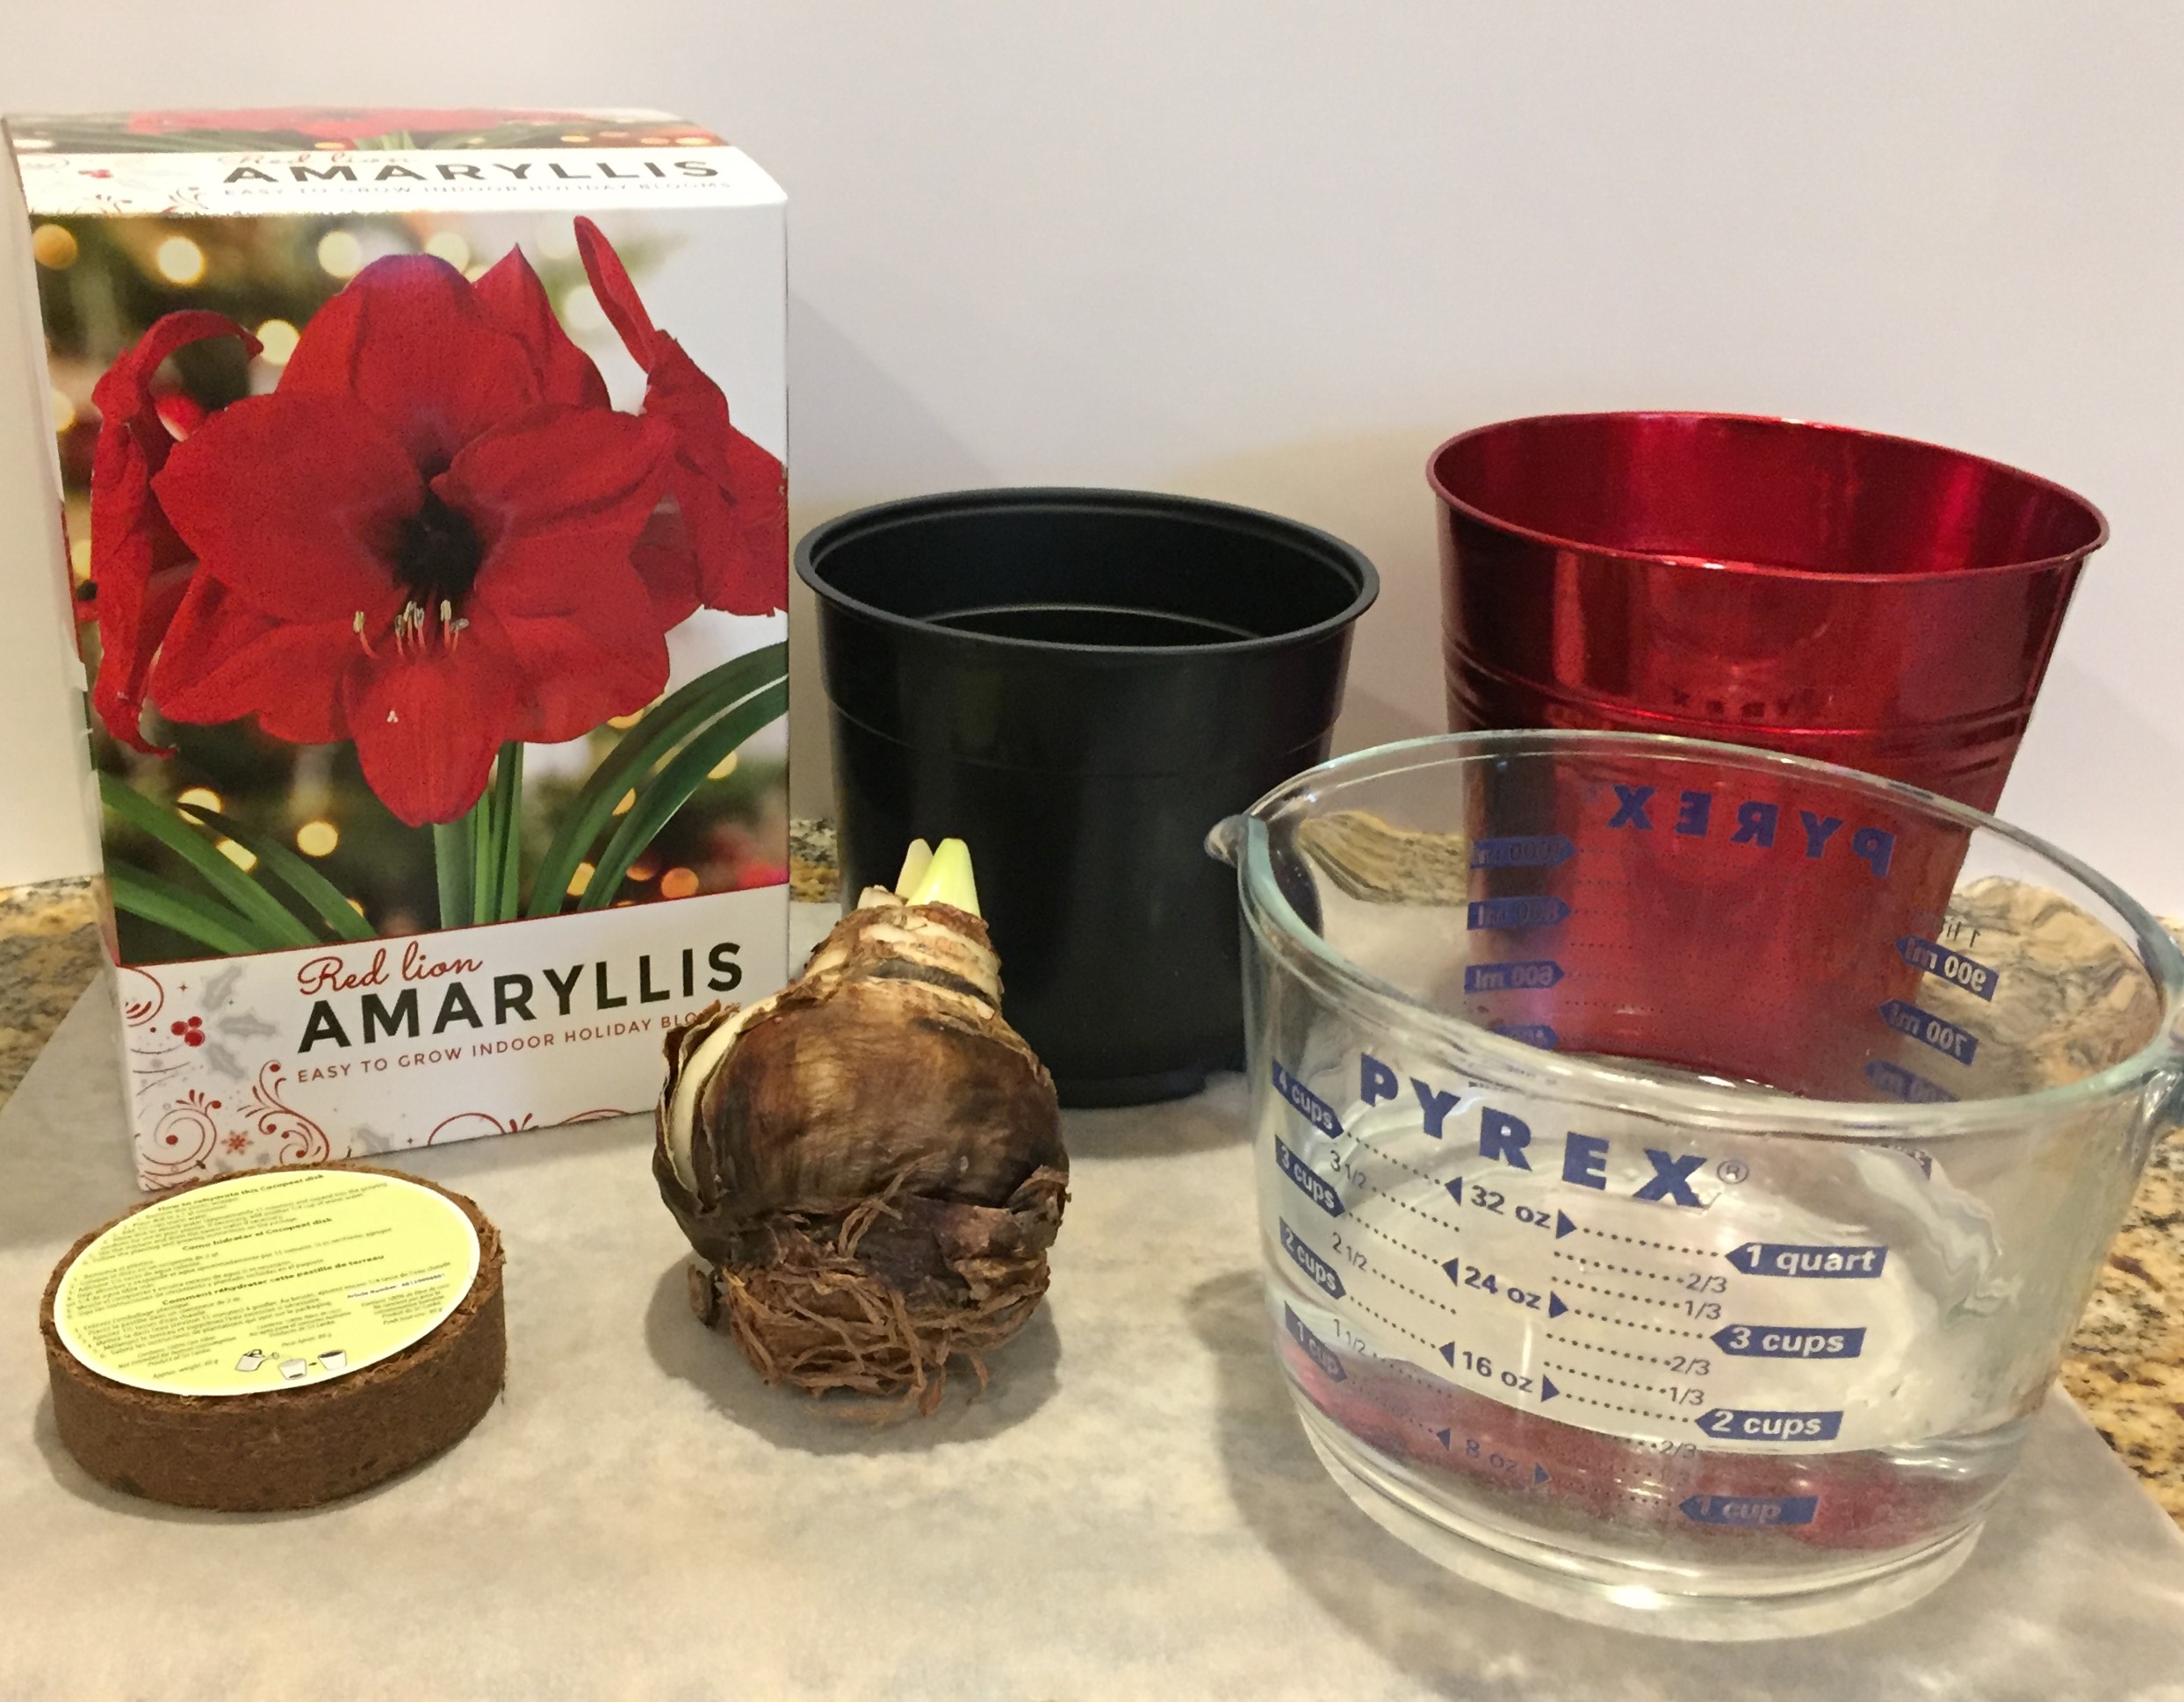
Supplies:
Amaryllis Kit (contains: one bulb, coconut fiber/peat mix, pot)
1 Quart Sized Container
1 ½ Cups Warm Water
Decorative Pot
Small digging tool (optional)
Directions:
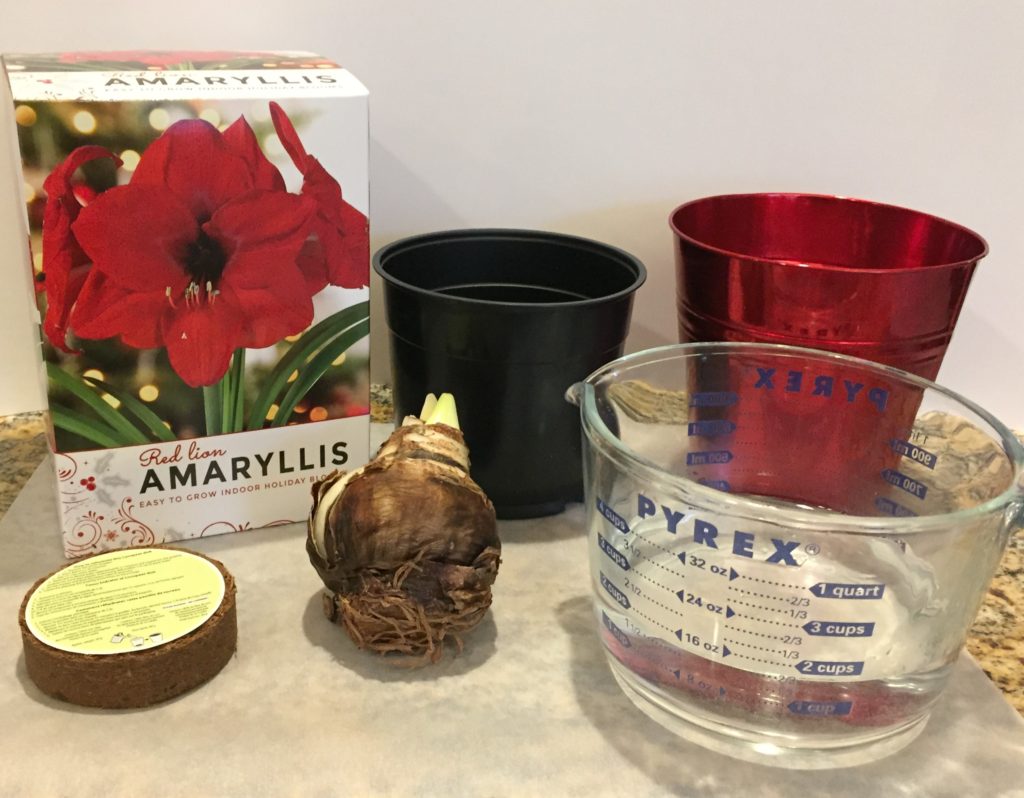
- The kit I bought came with a compressed puck of coconut fiber and peat which needed to be re-hydrated. If you use soil, you can skip this step, just make sure your soil is slightly moistened.
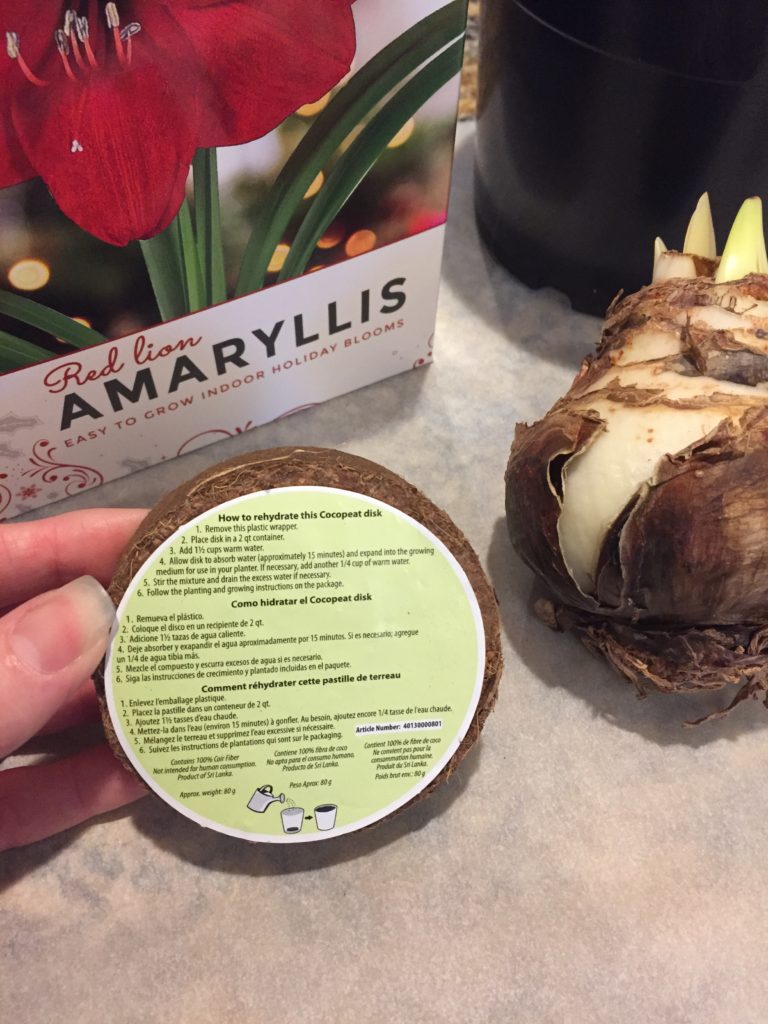
- Put the warm water in the 1-quart container and add the puck of peat. Let it sit for about 15 minutes until it has absorbed all the water. It will grow about 5X its original height. This was fun to watch as you could see it expanding.
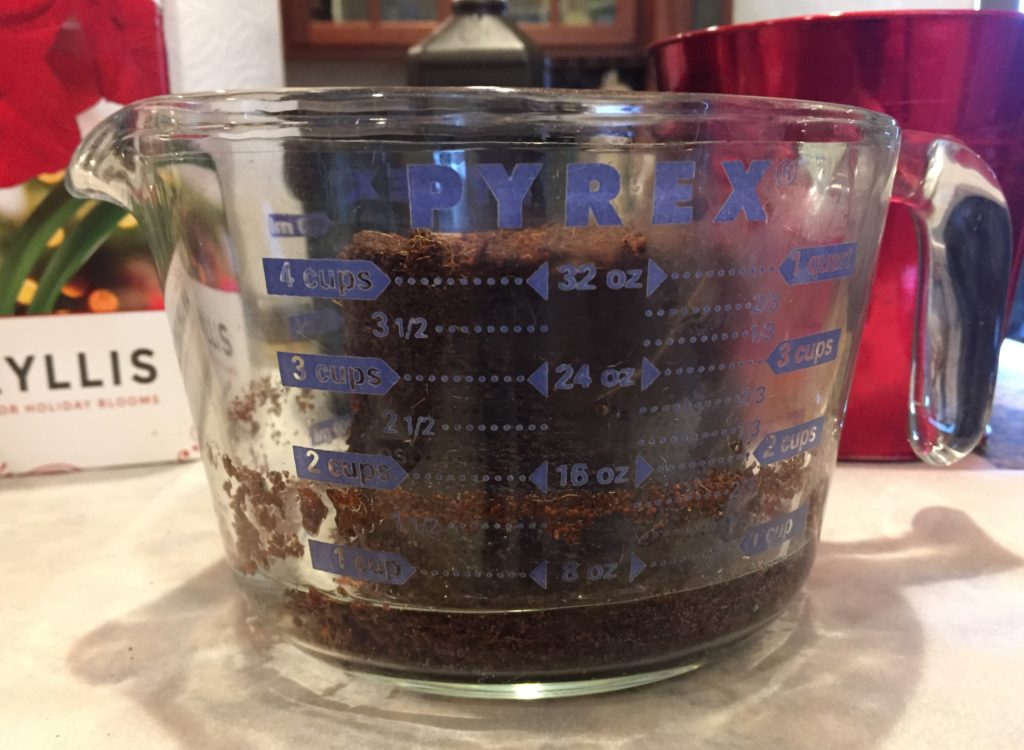
- Fill the pot ⅔ of the way with the soil, pressing down gently. You want it firm but not compact. I made a slight indent in the center for the bulb to sit in.
- Place the bulb in the center of the pot.
- Place soil around the bulb pressing gently until only about ⅓ of the bulb is exposed (up to the shoulder of the bulb, where it begins to curve up).

- Set the pot inside a decorative pot if desired (I found this red one at Dollar Tree).

- Set your bulb in a sunny window. The bulb will grow better if it is warm so if it is cold in the window, it will be best to place away from the window where it is warmer.
- Water the soil every few days as needed to keep it moist but not wet.
- After the stalks begin to grow, the plant will need water a little more frequently, just enough to keep the soil moist.
- Amaryllis stems are pretty sturdy but you may want to get some plant stakes to support them. These stakes are just under 16″ tall so they will support a flower as tall as the Amaryllis.
I have found that in a cooler, darker environment, the stalks will be taller and take longer to bloom. In a warmer, brighter environment, the stalks will be shorter and bloom earlier. Either way, they are so beautiful and enjoyable, any time they bloom.
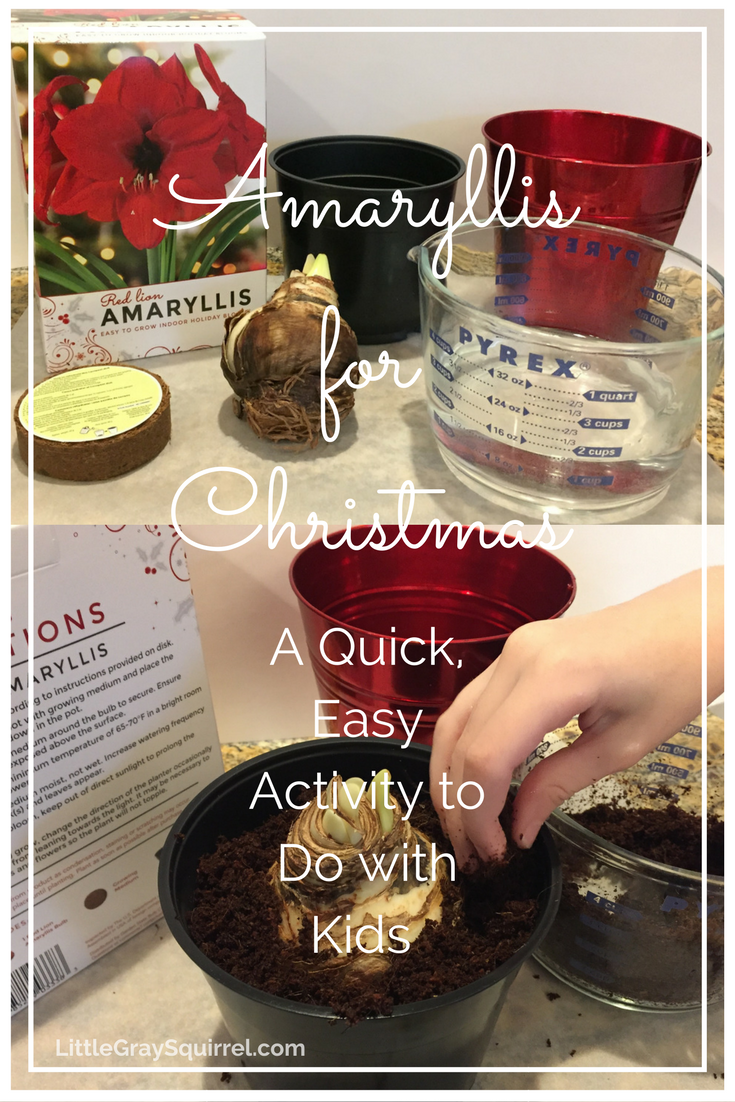
Here is a video that shows how to plant an Amaryllis bulb:
Amaryllis Blooming Timeline:
Your results may vary depending on your bulb, available light, and temperature. I originally had my Amaryllis pot near my kitchen window but after a week of not much growth, I thought it might be too cool (35-50 degrees outside) and moved it to the center of the kitchen. It responded much better being in a warmer part of the room.

My bulb produced two separate stalks with a few small leaves in between. The first Amaryllis bud, on the short stalk, began to open about 7 weeks after planting.
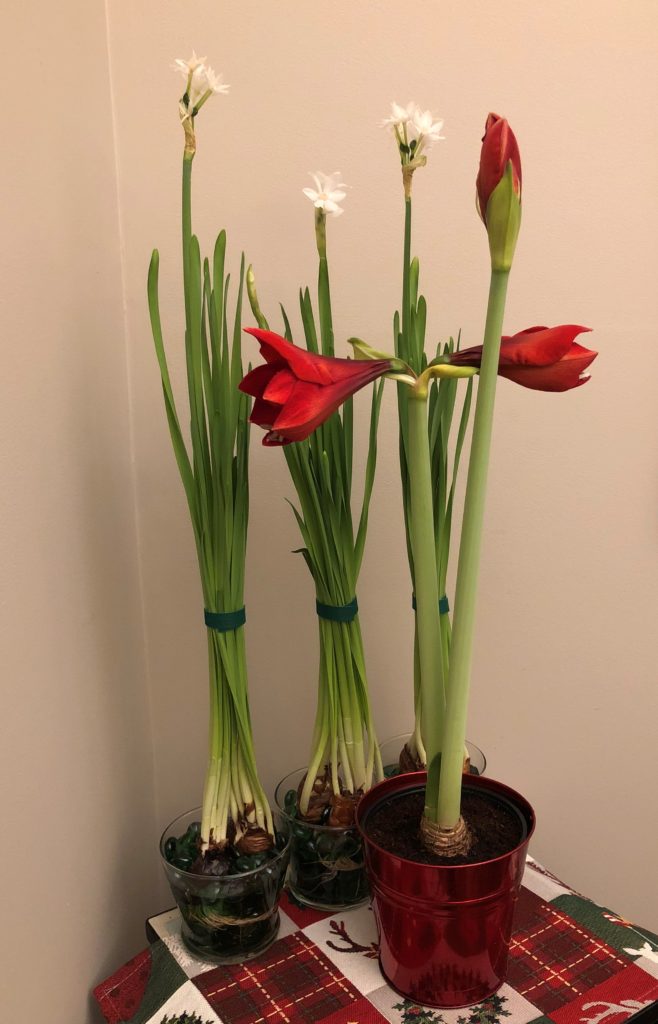
The blooms on the shorter stalk began to open up about 8 1/2 weeks after planting and the bud on the taller stalk was just beginning to bloom as well. The Paperwhites in the background are in full bloom 3 1/2 weeks after planting. I wrapped a piece of green double-sided hook and loop to hold the Paperwhites’ leaves together to help prevent them from falling over.

At 9 weeks, the beautiful red blossoms of the shorter stem are in full bloom and the taller ones are almost there.

The Amaryllis in its full glory at 9 1/2 weeks after planting. I am amazed that I got two stalks, one with two blooms and one with four. The blooms lasted for about a week after reaching their full size with the lower ones dying first and the higher ones about a week later. This truly is a showy flower and I will definitely be forcing Amaryllis bulbs next year.
Tips:
- If you choose your own pot, it is best to choose one with drainage holes or keep a very close eye on the moisture content of the soil. Bulbs are susceptible to rot if they stay wet.
- Choose a sturdy pot that is about 6”-8” wide and has about 2” of space under the bulb. Amaryllis flowers are tall and top heavy. This will help them from falling over.
- To plan when to start forcing your bulbs, choose the date you would like them to bloom and count the weeks backwards. Next time I will plant them mid to late October so they are in full bloom right before Christmas.
- Place your bulbs in a sunny, but still cool area. A darker location can cause the stalks to grow long and narrow and might have a hard time holding up the flowers without supports. If your bulb is too slow growing, try moving it to a warmer part of the room.
- Once the bulb begins to sprout, turn the pot every few days or so to keep the stem growing straight up.
- Paperwhites that have been forced are unlikely to bloom again so they can be composted when they are finished blooming.
- Hyacinth bulbs can be planted outdoors after blooming or properly stored and forced again.
- Planted bulbs in a pretty container make a nice host gift for Thanksgiving.
- If you would like to maintain your Amaryllis bulbs and have them continue to bloom year after year, read about that here.
Have you ever forced bulbs? What kind did you grow?
Thanks for stopping by!
-Megan
For more fun activities, please subscribe to our email list.
[mailerlite_form form_id=9]


