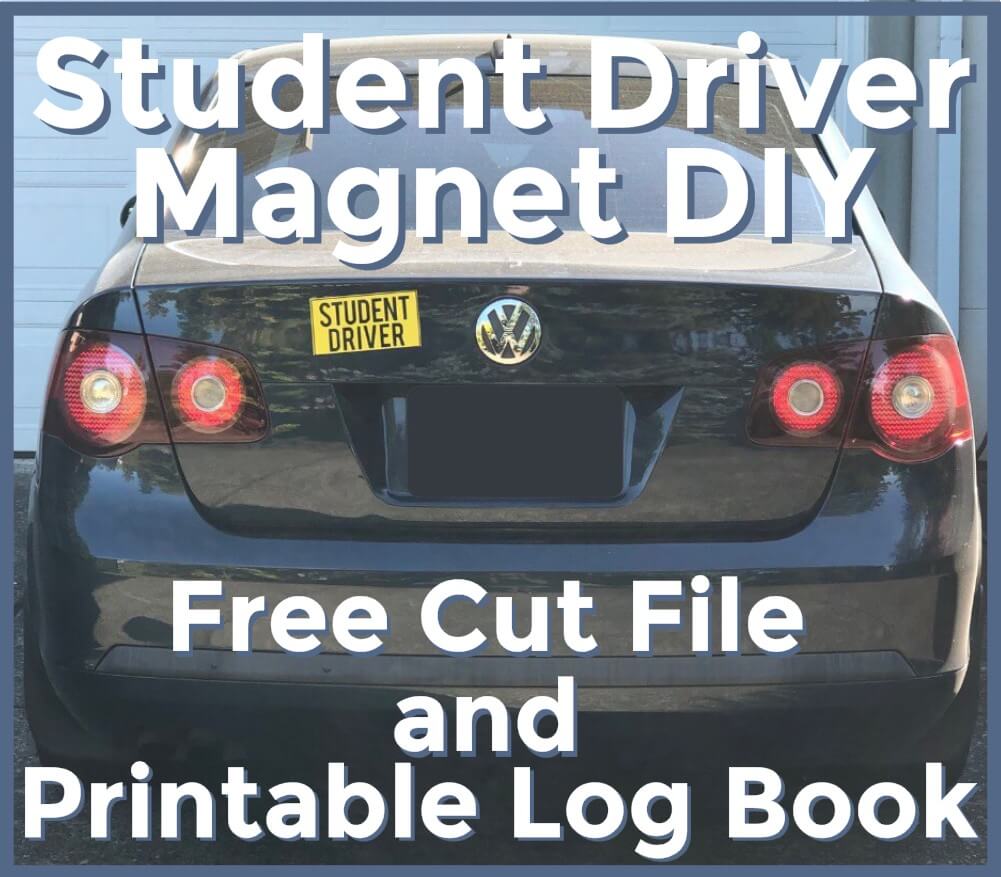
DIY Student Driver Sticker Decal Magnet with Free Cut File
How to make a Student Driver Sticker or Magnet with free cut file and bonus free printable driving log.
I created this student driver cut file to create student driver magnets for my older son and my nephew a few years ago when they were learning to drive.
This file is available for free for my email subscribers. You can use it to make a sticker decal or magnet for your vehicle or you can print it and put it in the window (as long as it doesn’t block the view).
**This post contains affiliate links. When you click these links I may make a commission on purchases made through those links. As an Amazon Associate I earn from qualifying purchases.** For more information, please see my Disclosure Policy.
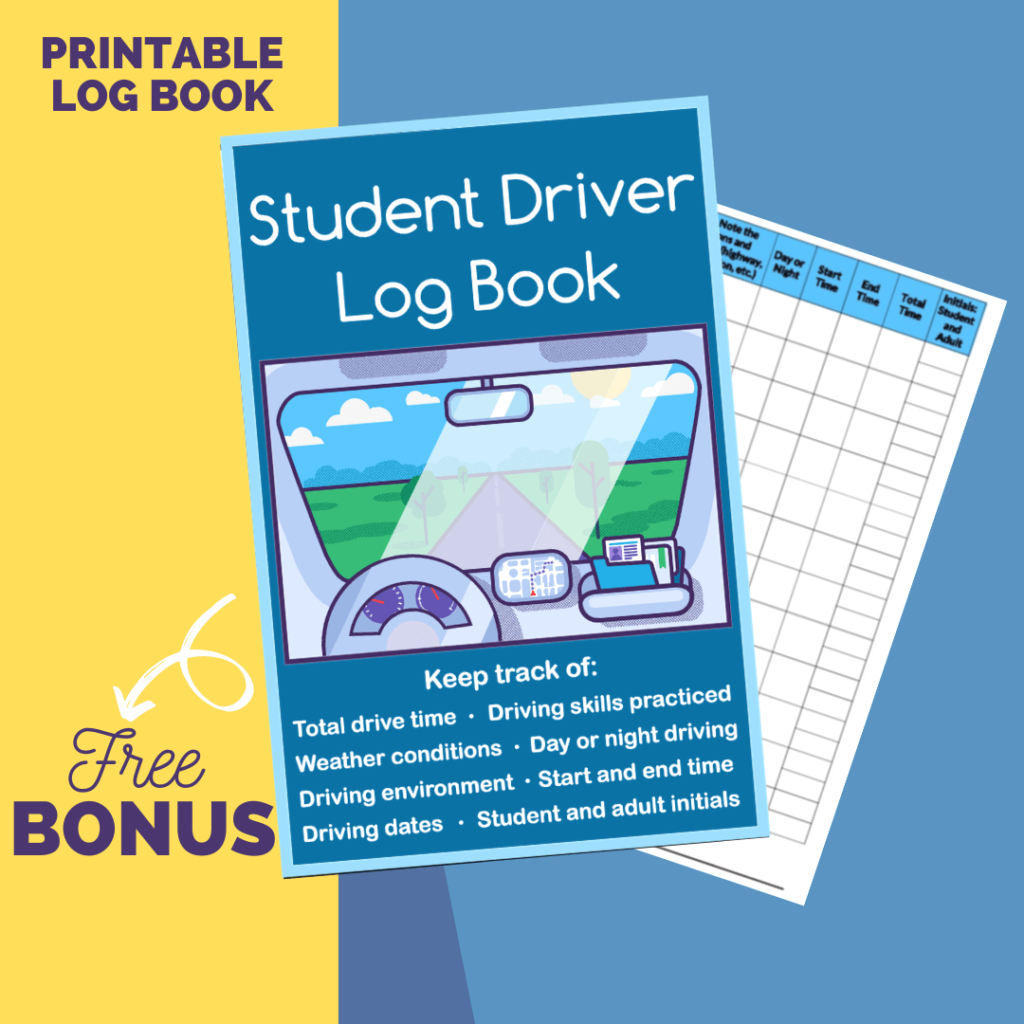
I have also created a printable driving log so your student driver can keep track of how many hours of driving they have practiced and also what skills they have practiced.
This has been so helpful for tracking practice time. It is a great idea to keep it in the glove box and update it immediately after each practice drive session.
Join my newsletter here to gain access to my resource library and get the how to make a student driver decal or magnet instructions below.
Should I use a Student Driver Magnet?
There are definitely different opinions on whether or not student driver stickers or magnets are helpful.
I have talked to teens who don’t want to have them because they feel embarrassed but I have also been in the car with a student driver who was unnecessarily honked at which can shake their confidence.
Ultimately I think it is helpful to display a student driver sticker.
You can buy an inexpensive student driver magnet like this or make your own magnet, decal, or printed sign which can all be removed when you are done with it.
Helpful tips for new drivers
Enrolling your teen in Driver’s Ed
If your student is planning to take Driver’s Education training, you should start looking into a local program early, as much as a year in advance to find one that fits into your schedule. Driver’s Ed classes can be quite a time commitment for the student and the parents. They also fill up quickly.
A driver education program can reduce the number of hours of driving practice required to obtain a provisional license. Since the class our kids took was approved by our state Department of Transportation, their required in car practice time was reduced by half. And, they didn’t have to take the in-car driver’s test through the Department of Motor Vehicles which saves that scheduling headache and stress for the student.
Driver’s Education Training can be expensive though. I think it was about $300 for our older son and $425 for our younger son.
The program follows the state mandated curriculum and is very strict (with good reason).
Our younger son is taking a local ODOT approved course since schools are not open right now.
Even though they are expensive, student driver classes have many benefits.
In addition to not having to take the “in-car” portion of the driving test at the Department of Motor Vehicles, and possibly reduced practice driving time, new drivers can develop good habits from the instructor and it can be helpful to have an adult that isn’t a parent to teach your son or daughter to drive.
Some insurance companies offer a discount on your premium for taking driver education classes.
Right now, the DMV in our state isn’t even scheduling in car drive tests. They have to be done through a third party anyway.
Future Driver
We have learned a lot on this journey with our older son, so now we are prepared for his younger brother to get his driver’s license. He has been super excited to get behind the wheel. He started showing an interest in what traffic signals and road markings mean, and how to operate the car pretty much as soon as his older brother started driving.
Tips for passing your written permit or driver’s test
There is really no way around it. You need to study the driver’s manual. The test is written specifically to make sure you know the rules of the road.
- Read the manual carefully
- Study with a partner
- Use an online practice test – This is the online practice my family has used. There is an online version and an app version. We did not pay for any of the tests so you shouldn’t have to to be able to use it. It is for informational purposes only and your student should still read the appropriate manual for your state.
- When you are a passenger, envision yourself as a driver, pay attention to signs, lights, road markings, etc.
- Read the questions of the test very carefully and answer the question they are asking with the best response. To help answer a hard question, eliminate the answers you know are wrong, and make an educated guess between the remaining questions.
- Enroll in Driver’s Ed for a full class learning how to drive and the rules of the road.
Student Driver Sign DIY
Step by step video: Cut magnet sheets with a Silhouette Cameo to make your own Student Driver sign
Step by step video: Print your own Student Driver sign using a free printable PDF or PNG
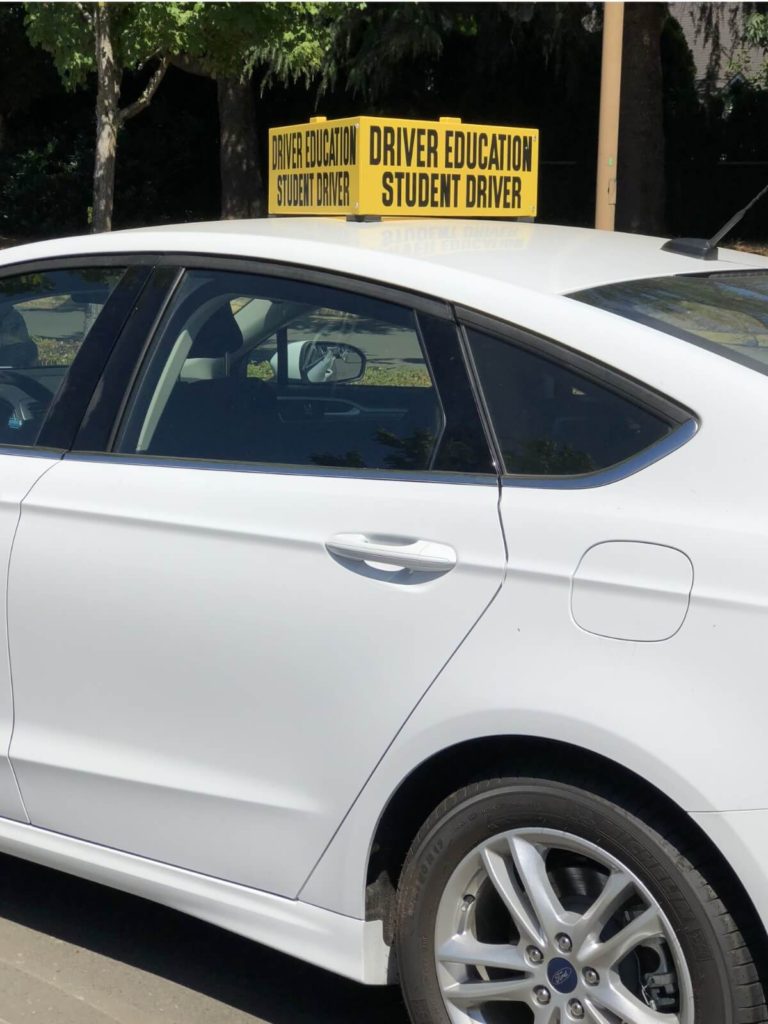
You probably don’t need a “cheese wedge” for the top of your vehicle like they have on the cars for driver training, a simple magnet or window sign is just as effective without totally embarrassing your teen. Having a student driver magnet, decal, or sign in the rear window (if it doesn’t block their view) is very handy.
Where to Get Student Driver Cut Files
I created a bundle of 23 Student Driver Cut Files that are now available in my Etsy Shop.
If you have a Silhouette, Cricut or other cutting machine it is fun and easy to make your own, or you can even just print one out from your home printer.
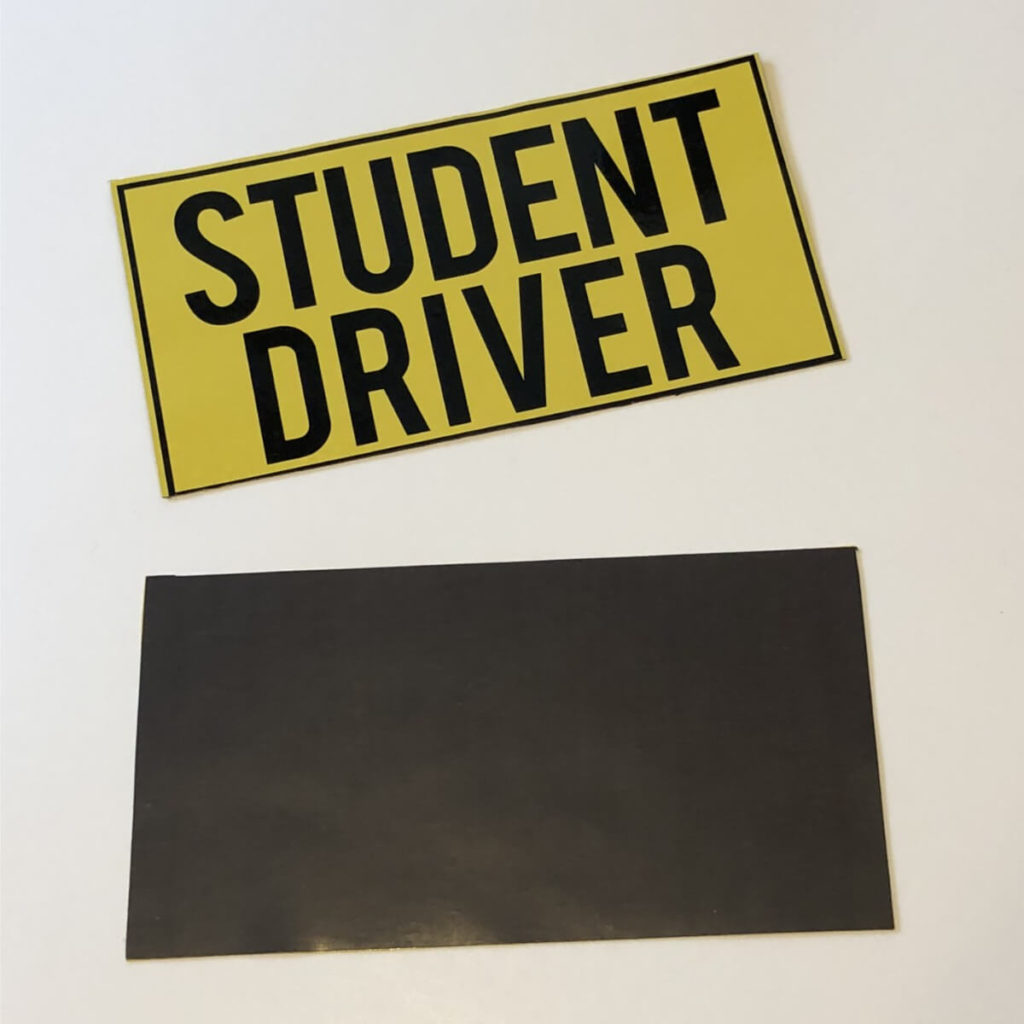
We have already had two teens get their license in my family and there are currently four kids in the family that are learning to drive with more to come so having a reusable student driver sign has certainly come in handy.
Having a student driver or new driver sign on your car is a great way to alert other drivers of a new driver on the road, and to “ask” them to be kind while your son or daughter is learning to drive.
It can let them know they may need more patience when following them or that they can go around and avoid the situation all together.
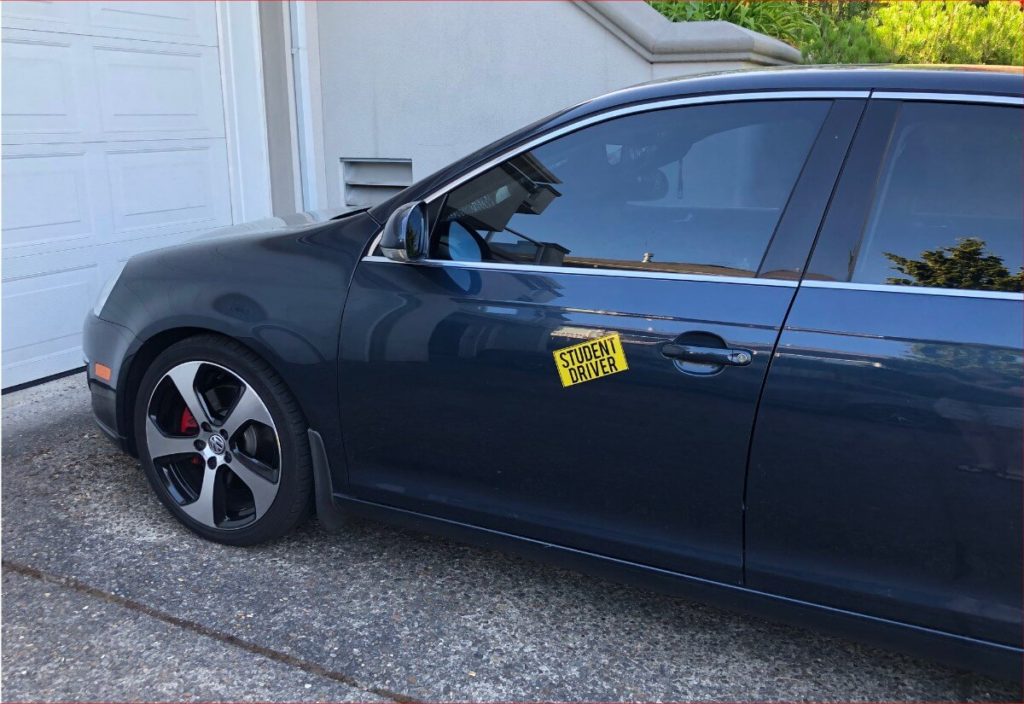
Student Driver Sticker and Magnet DIY
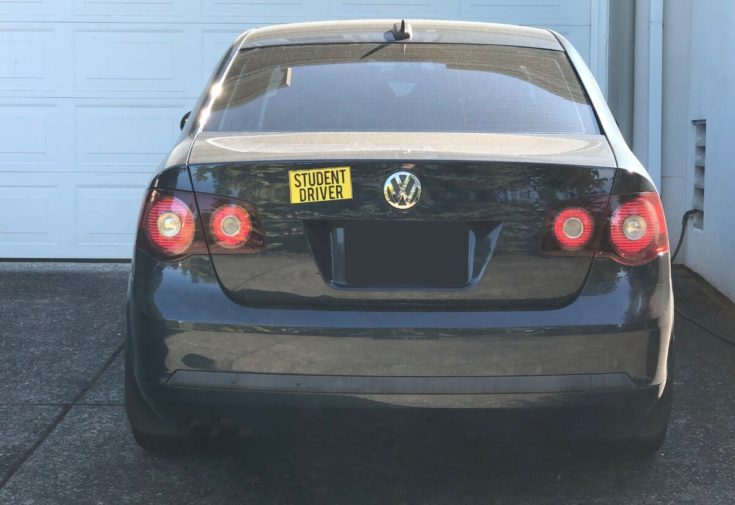
How to Make a Student Driver Magnet
Make your own magnet, vinyl sticker decal, or printable sign for your new driver, student driver, or for someone who is learning to drive.
First, grab your free files from my resource library. My resource library is for my email subscribers. You can join by filling out the form here.
Read through the instructions below and decide which variation you would like to make.
Gather the materials and tools listed for the variation you have chosen.
Follow the instructions to make your own student driver magnet, sticker, or sign.
Materials
- For Magnet Variation:
- Magnet Sheet 8 1/2"x11" 30 mil (.76mm)
- or
- Magnet Sheet 8"x10" 60 mil (1.52mm)
- Yellow Adhesive Permanent Vinyl
- Black Adhesive Permanent Vinyl
- Transfer tape
- -
- For Sticker Decal Variation:
- Yellow Adhesive Permanent Vinyl
- Black Adhesive Permanent Vinyl
- Transfer tape
- -
- For Printable Sign Variation:
- Paper or cardstock
- Tape or suction cup
Tools
- For Magnet Sheet or Sticker Decal Variation:
- Craft Cutting Machine (I use a Silhouette Cameo)
- Scissors or craft knife
- Weeding tool
- Vinyl Scraper or squeegee
- -
- For Printable Sign Variation:
- Scissors or Craft blade
- Color printer
- Paper or card stock
- Hole punch (optional if making printed sign variation)
Instructions
To make the student driver magnet variation
- Cut the magnet sheet using scissors, a craft blade, or your cutting machine to the size of the yellow rectangle in the free cut file (3" x 6"). You can make the magnet or decal any size you like just be sure to select the black outline and text and the yellow rectangle and resize them at the same time.
- Cut the yellow vinyl into a rectangle about 1/4" larger than the yellow rectangle in the cut file. It helps to have it larger than the size of the magnet but you can cut it to be exact if you like.
- If using magnet sheet with adhesive side, remove the protective cover, exposing the adhesive.
- Place the magnet adhesive side up on your work surface.
- Remove the backing from the vinyl and apply the sticky side of the vinyl to the sticky side of the magnet. (If you are using non adhesive magnet sheets, test the magnet on metal or your car to make sure the stronger side of the magnet will be facing the back). Smooth the vinyl onto the magnet with the squeegee.
- Use a craft blade to trim excess vinyl from around the magnet.
- Cut the Student Driver and outline out of black vinyl.
- Weed excess black vinyl and cover the cut design with transfer tape. Smooth it on with a vinyl scraper or squeegee.
- Peel design off of paper backing by the transfer tape.
- Line up the design in the center of the yellow rectangle and apply it. Smooth out any air bubbles with a scraper and remove transfer tape.
To make the student driver sticker decal variation
- Cut the yellow rectangle in the free file out of vinyl using a cutting machine (3" x 6"). You can make the decal any size you like just be sure to select the black outline and text and the yellow rectangle and resize them at the same time.
- Cut the Student Driver and outline design out of black vinyl using a cutting machine.
- Weed the excess black vinyl from the cut design.
- Place the transfer tape over the weeded design and smooth it down with a vinyl scraper or squeegee.
- Secure the yellow piece of vinyl to your work surface with some tape or place on a cutting mat so it doesn't move when you apply the top layer.
- Peel the cut design off the paper backing by the transfer tape.
- Line up and center the design on the yellow vinyl rectangle and apply it. Smooth out any air bubbles with the scraper.
- You can leave the transfer tape on the sticker decal until you are ready to apply it to your vehicle or, since it is on a rectangle, you can remove it and just peel the paper backing off and apply it to your vehicle when you are ready.
To make the printable student driver sign
- Open the PDF or PNG version of the free student driver file.
- Load the paper that you would like to print on into your printer.
- Send the file to print from your printer.
- Cut out the student driver sign with scissors or a craft blade.
- If you want to use a suction cut to hang the sign, punch a hole in the top corners of the sign for the suction cup hook.
Notes
Mil is a measurement of thickness usually used with plastic sheets or in this case magnet sheets. It is not the same as millimeters (mm)
1 mil = 1 thousandth of an inch OR 1 mil = 0.0254 mm (millimeters).
I used 20 mil thick magnet sheets which were sufficient to hold onto my vehicle and I can cut it with my Silhouette Cameo using a ratchet or autoblade if I wanted to.
If I were to order more magnet sheets, I would probably order 30 mil sheets (0.5mm) or maybe even 60 mil sheets (1.52mm). You would need a deep cut blade, 2mm Kraft blade or 3mm Kraft blade to cut a 60 mil magnet sheet.
If you prefer non adhesive magnet sheets here is an 8"x10" 60 mil magnet sheet pack without adhesive.
Other variations:
Cut the file for the magnet/sticker decal out of card stock, glue the black letters and border to the top of the yellow rectangle and display in a window.
Use printable vinyl to print the PDF or PNG version.
Important:
Do not place anything in a window of your vehicle that would block the view.
Apply magnet or sticker decal to clean car. To help prevent scratches, don't slide it around on the paint.
Remove the magnet from your vehicle when not driving, especially in warm or hot temperatures.
Leaving any type of magnet or vinyl on your vehicle for an extended time can prevent the paint under the magnet or sticker from fading at the same rate as the rest of your vehicle. When you remove it, the paint under the magnet or decal may be slightly darker (not faded).
Enjoy the free cut file and printable log book. I hope it helps make the process of learning to drive a little less stressful.
I would love to see any Student Driver signs or magnets you make. Tag me on Instagram @littlegraysquirrel when you make one.
Best,
Megan


